And yet another post I'd never thought I'd write. But glad to do it. It'll be a great help when I set up the village again and maybe have added new pieces. I wanted to have a base for the village that would hide the cords, not require a new batch of snowy batting and would, in the long run, facilitate setting up a large village.

To me, this is the hardest part. Getting out all your village pieces and planning the layout. I planned for different terrain by dividing the pieces into farmland - old town - town center - vail - mountains. Just like in the countryside and in cities, you don't very often see old building designs net to newer building types. There is quite a bit of difference in detail between the older village pieces and the newer ones. What you see above are the oldest pieces.

At this point you don't really want to deal with the people, just the houses and larger accessories, like where to put the town sign and the skating pond.

Try to add risers (books, boxes) to the layout so you can get a good idea of how things might look.

Blaming all this on the new additions to the village, the market stalls. In Germany, Austria and Switzerland, most towns will have a Christmas market. I loved thing I struggled with the most. How to place the market stalls? It changed so. many. times!

I added the O gauge Bachman trolley and needed to find a spot for that as well.

Don't forget to use up every spare inch! Front, back and in between.

Boxes are great for adding height.

I also placed notes in different spots for pieces I had purchased but that my delightful mail carrier hadn't yet put on the porch.

And don't forget all the little people. You need to make sure you have room for them. Once you've got the wires in place, in this type of setup, you can't easily move houses around.

Also now is the time to plan for the village lights. Those wires aren't nearly as easily hidden. Also, it helps to know where all the power will be.
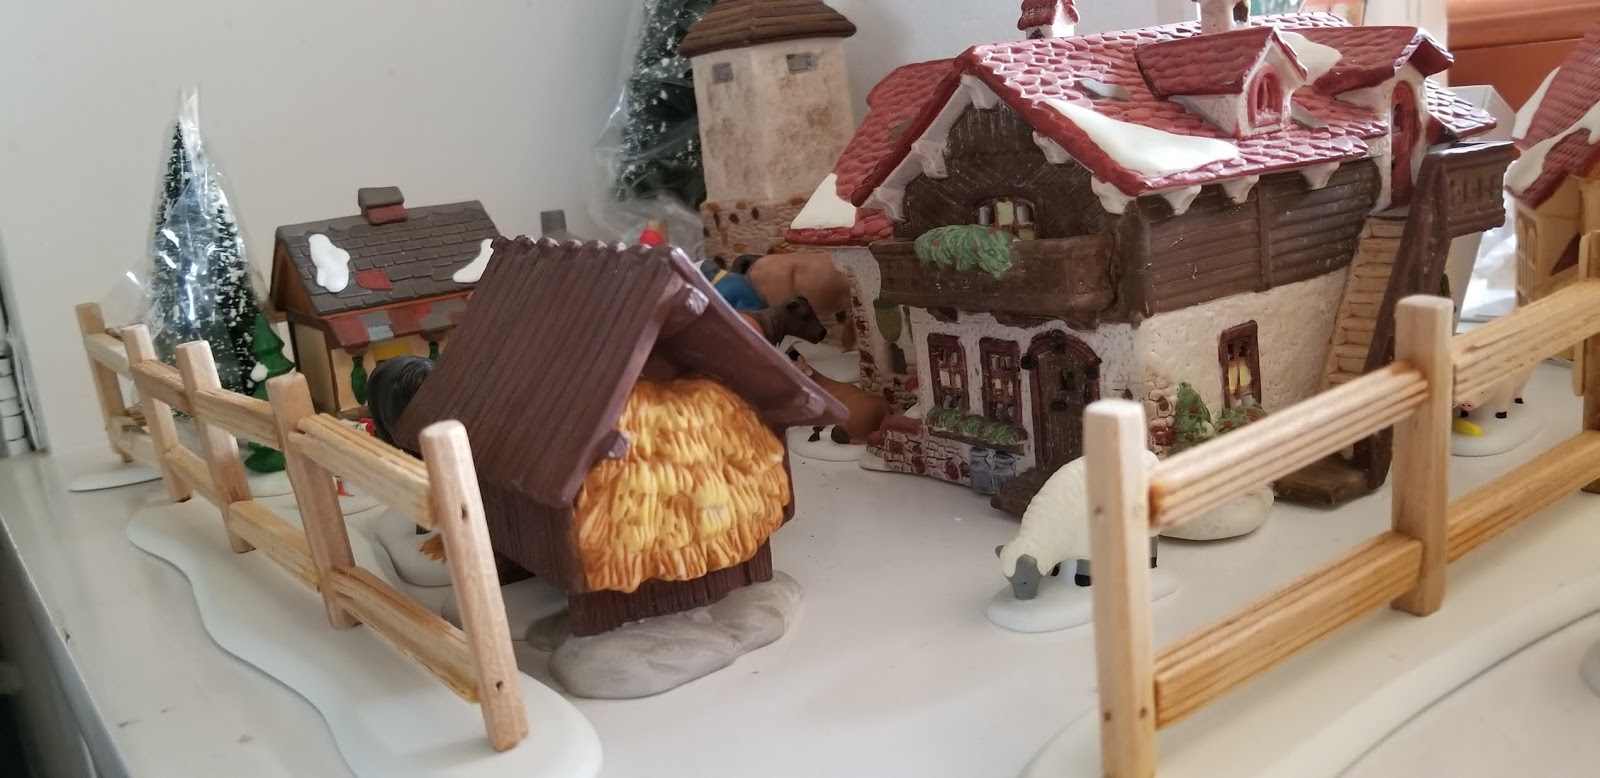
This farm area actually changed so much in the course of this process.

There are just so many farm pieces! Now with the layout about done, it was time to create the foundation which is made out of styrofoam insulation purchased at the home improvement store. They come with a mylar covering, which in most cases can easily be pulled right off.

I planned on the center of the display where the Christmas market would be to be one continuous piece.
Our hallway is divided into three windows so I needed to cut out the window frames and the center back for the Dept 56 plugs that would be covered by a styrofoam riser. I drew placement of all "elements" onto the styrofoam with a pencil.

Place the sheet onto your surface and place the houses on top so you can see where to cut out holes for the cords.


The cobblestone areas were "cobblestoned" by removing the eraser from a pencil and forming the metal from the eraser end into an oblong. Then push into the styrofoam. Over and over again.

You can form patterns into your concrete.

Inexpensive styrofoam brushes are used to paint your pieces with craft paint. I preferred to water the paint down to a milk consistency so that I could more easily control the depth of color.

Watered down brick red paint was applied so that some of it is darker and some lighter. Were I to do it again, I might add some brown to some areas.

You can see the varying shades in both the red and grays.

The riser in the center back was made to look like stacked rock on the front side using reds, grays, dark grey and a few touches of green paint.

Behind the fencing the extra wiring from the lights is pushed into the styrofoam. The few wires that are headed back to the plugins was painted to match the cobbled area.

This is the farm area, I added texture by applying loose woodlands foliage to the wet paint. It's very fine and can be easily distributed. I also watched lots and lots of village display ideas. I've linked a few below:

The biggest challenge (other than hiding cords) was building the river. I suggest that you channel a trial river in a scrap piece of styrofoam and practice there. Be sure to cover the river area with a compound or the realistic water liquid will seep through. I added some rocks to the edges and within the water as well. Before I forget, i placed the houses (not wired) on the foundation piece and then drew where i wanted the river. That way it flowed perfectly under the covered bridge.
I wish you fun times and much joy!
Enjoy the process.